Prerequisites
Sub account
Your trunk account needs to have the minimum required in order to work with FreePBX.
- - Username
- - Password
- - CallerID Number: DID
Configuration of FreePBX
Creating a new trunk
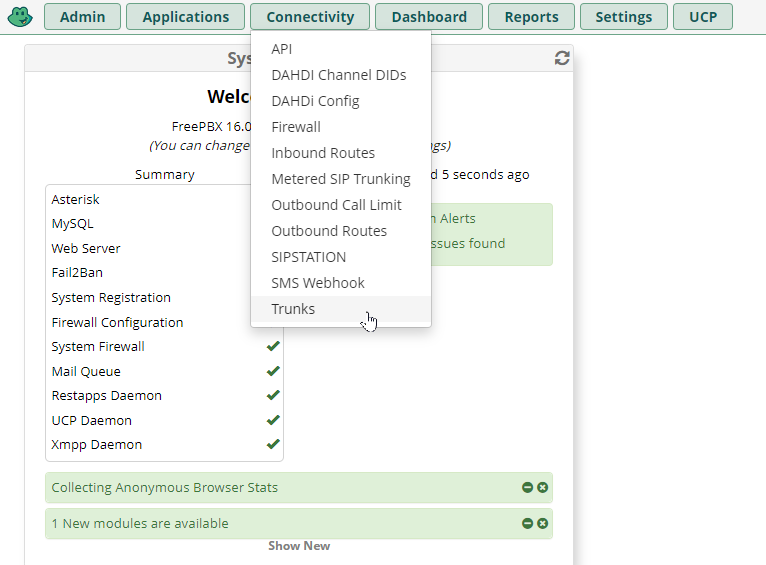
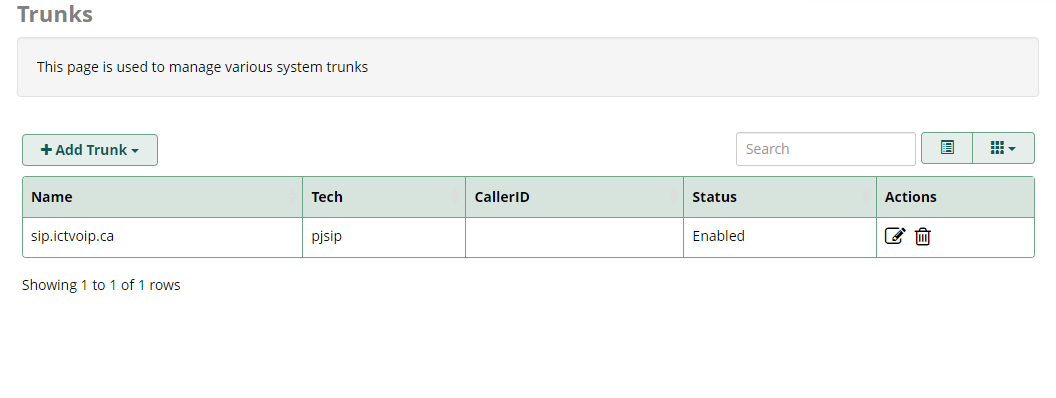
On your FreePBX panel, Click on the menu [Connectivity] menu, then [Trunk]. When you are on the trunk page, Click on [+ Add Trunk] and select [+ Add SIP (Chan_pjsip) Trunk].
General Tab
- Trunk Name: This is only to identify your trunk for your own purposes.
- Outbound CallerID: May leave blank and assign within your Extension(s). See below "Outbound Routes" and check Extension Route CID or set on your trunk for all extensions. "CALLERID NAME" <##########> (your 10 digit DID # without any dots)

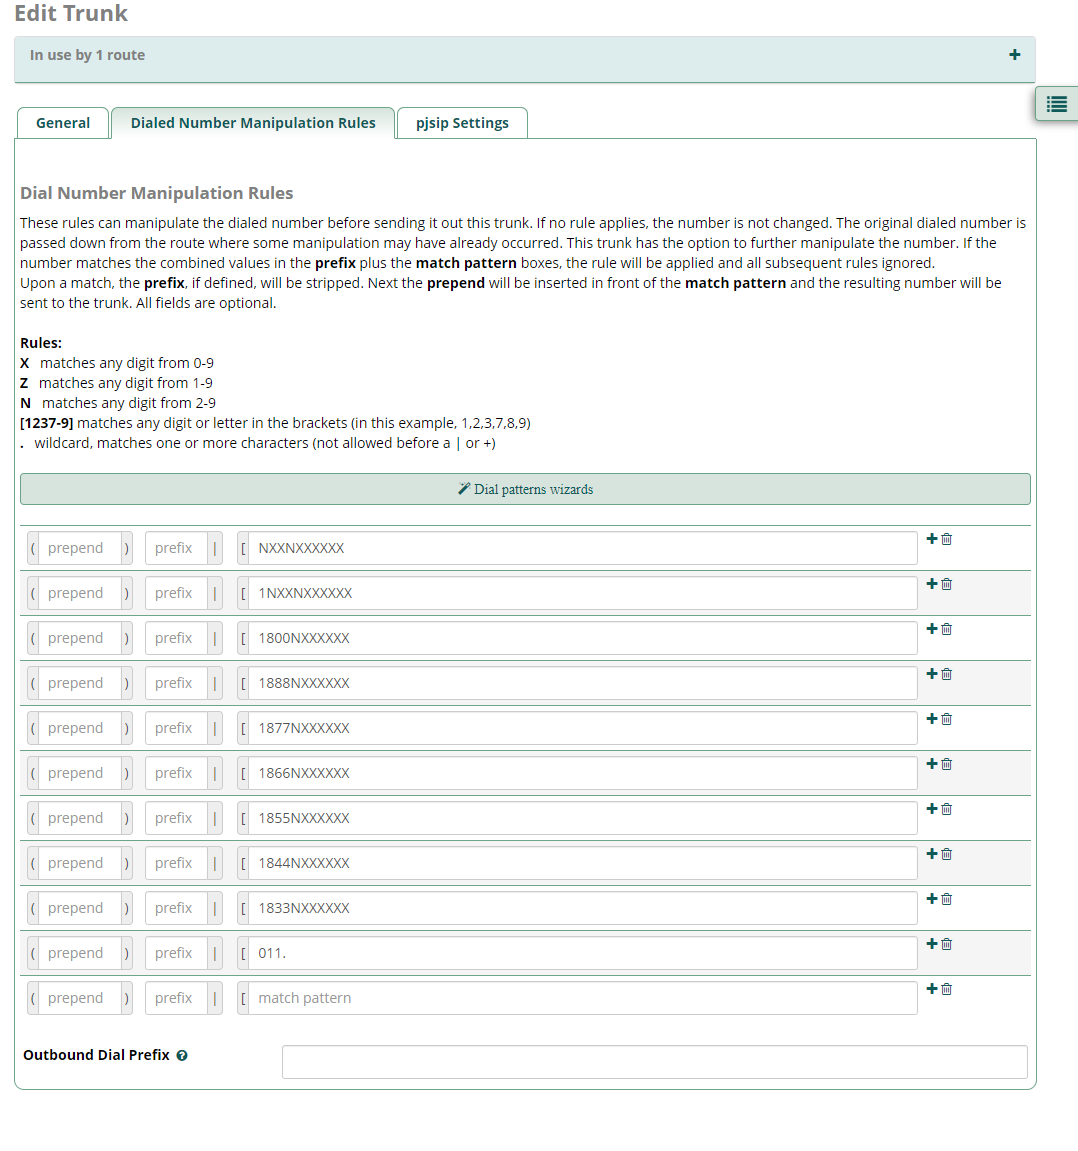
Dial Number Manipulation Rules
Provide your locations required dialing rules. Here is an example of North American rules including International Calling.
pjsip Settings
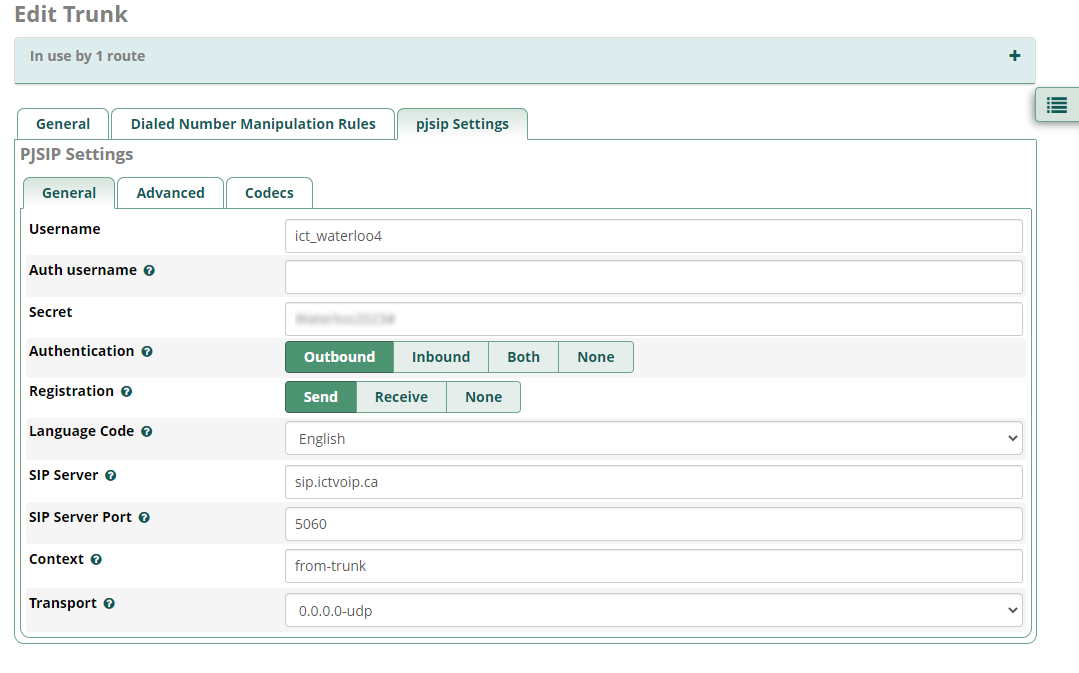
General
- Username: ######_username (This will be your ictVoIP reg-account)
- Secret: This will be the password of your reg-account.
- SIP Server: Your assigned PoP Server.
- SIP Server Port: 5060 or one of our alternative port 5080
- Context: from-trunk
Advanced

Only select ulaw codec under the Codecs tab.

Inbound Route Setup
In order to route your DID(s) you will need to create an inbound route. To do so, Go to the menu [Connectivity] then [Inbound Route], on this page, click on [Add Inbound Route]
- Description: You can add a description for your own purposes.
- DID Number: Select Any or your 10 digits DID that you have purchased or ported to your ictAccount.


Outbound Routes
Route settings
- Route name: Give your outbound route a name for your own purposes.
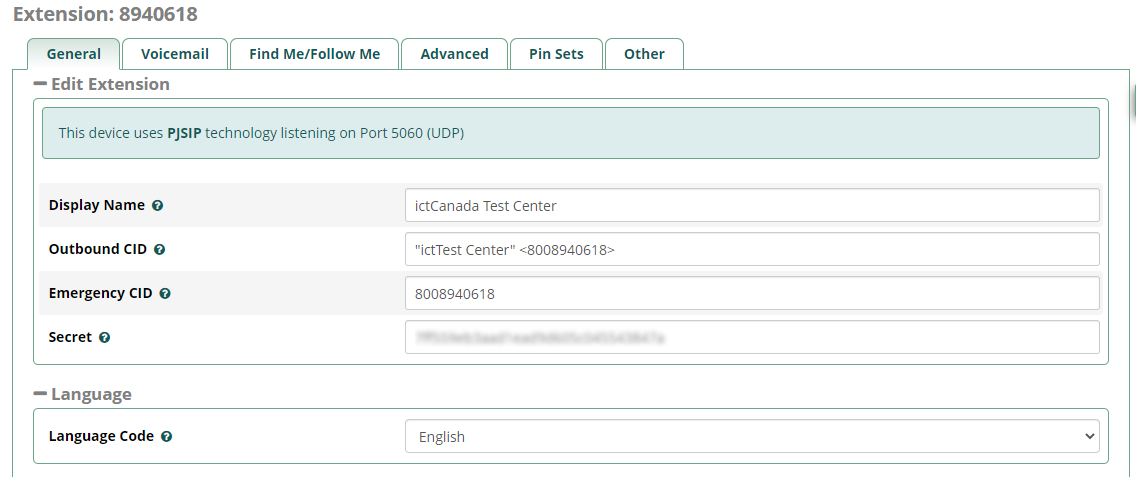
- Route CID: May leave blank and set this within your Extension. For Extention use - "CALLERID NAME" <##########> (your 10 digit DID # without any dot).
- Note: The name should be max 15 characters, Must be in CAPITAL LETTERS without specials characters. Spaces are allowed. If a CID in your trunk has not been forced, you need to specify the outbound caller ID used with this outbound route.
- Trunk sequence for Matched routes: You will need to link the new ictVoIP trunk you have just created.
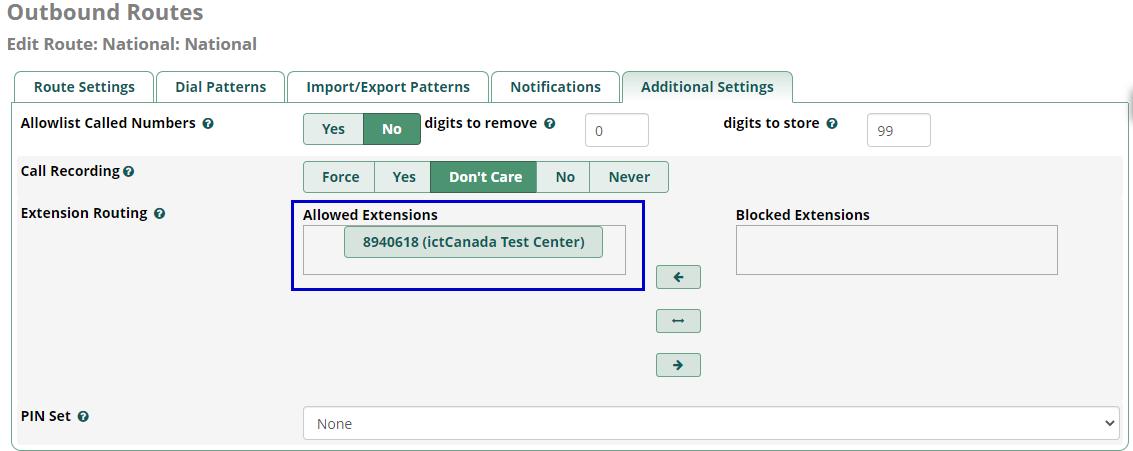
Additional Settings: Be sure to allow your extension the use of this outbound route.


Extension Route CID
Dial Patterns
Outbound Caller ID Name
Canadian providers do not use a CNAM database to pass the caller ID Name, you will need to provide this information directly from your trunk or extension depending on your requirements. The way to display a name and a number in a trunk is: "CALLERID NAME" <##########>.
IMPORTANT:
  - We suggest entering your outbound Caller ID Name which should be in CAPITAL LETTERS. This will appears more clearly/visible on some devices.
  - You must NOT use any special characters, they will not be displayed.
  - Do not exceed 15 characters max! Some of regular Canadian providers will not show more than 15 characters. We suggest shrinking or adapt your caller ID.
  - Spaces are allowed in a caller ID name.
For USA destinations, you will need to request a CNAM Database update through the live chat or by submitting a ticket request. Note that the same criteria must be respected.
Special considerations NAT/ REST Interface / Firewall
When behind NAT RTP sessions may remain stuck when close is sent for completed disconnect calls. Ensure to set your Public and Private IPs in Settings / Asterisk SIP Settings
NAT RTP resolution

Asterisk REST Interface not able to connect due to ARI Credentials
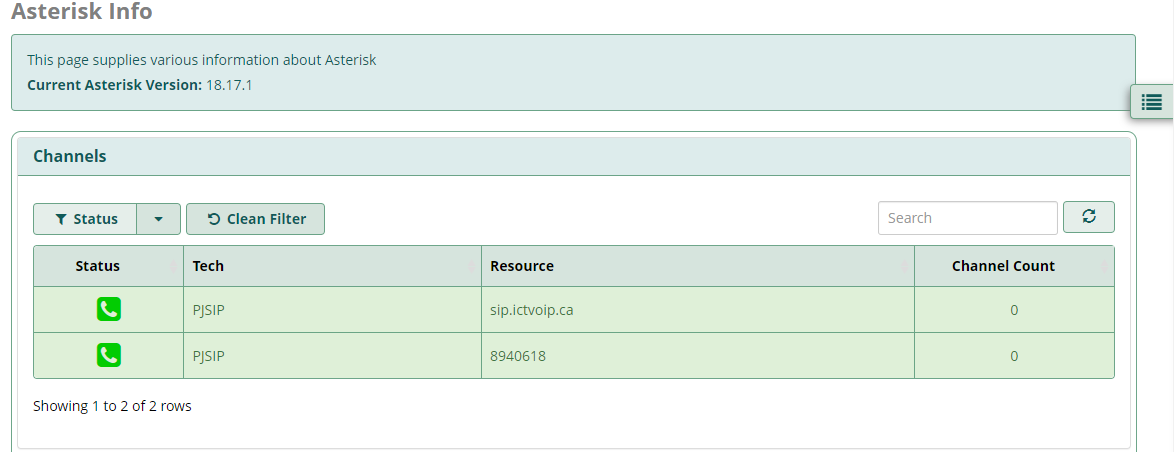
Note: Cannot have wildcard characters with ARI Username or ARI Password.
Method to update: Settings / Advanced settings
Enable
Display Readonly Settings
Override Readonly Settings
Submit then apply
Settings / Advanced settings
Now update user and password (alphanumeric characters only) for Asterisk REST Interface

Whitelisting sip.ictvoip.ca IP in FreePBX
With FreePBX, it is quite easy. Simply proceed into FreePBX, into System Admin, Intrusion protection and then Whitelist sip.ictvoip.ca IP.
208.100.60.51

